Monday, 25 February 2013
Dungeons & Dragons
At roughly three and one half hours past the mid-day mark on the Wednesday of each week, a group of young, adventure seeking, students embark on mystical journeys through the different realms of imagination. The group of ruffians started out as a mean posse stealing wherever they could but soon after a couple harsh lessons they soon realized that just like in life there is going to be consequences for all your actions. They quickly went from being thieves to heroes as they saved several towns from bands of pirates made up of trolls, orc’s, and evil wizards. In defeating the evil Sea of Swords Clan, the fellowship of the Fellows Ship reclaimed 3 dragon eggs that would have been raised for pure evil and mayhem. The eggs were returned to the rightful keepers for a handsome reward. The Fellowship of the Fellows Ship embark into another journey filled with bravery, treacherous traps, unspeakable evil, and growing friendships between characters and players alike. Stay tuned for more adventures in this fun, role playing game the kids at Sr. OSC cant get enough of; Dungeons and Dragons.
Till next time,
Dungeon Master Adam.
Monday, 18 February 2013
And They All Fall Down ...
Despite the set backs, a group of budding architects (or at
least fans of dominos) built an impressive structure out of dominos. This task took quite a long time to complete
and there were moments when the small group wanted to quit. This was especially true when they were 3-4
dominos away from completion and the entire track was accidently knocked
down. Perseverance was evident when they
re-built their structure for one last time.
Finally the moment they had been waiting for had arrived; the time had
come to knock down the exact thing they had spent an hour building. The video above is the result of their hard
work. Well done guys!
Take care,
Carolyn
Friday, 15 February 2013
Art Attack Month: "3D Photos!"
This week, for the Art Attack project, we wish to bring the
photos into 3D! 3D sounds sophisticated and complicated. However, we find the
easy and simple way to create 3D photos.
To start, you can simply chose the photo you want from a
book, a magazine, or even use your own favorite photo. After that, make 3
copies of your photo. You can either use a photocopy machine or color printer
from home to make those copies.
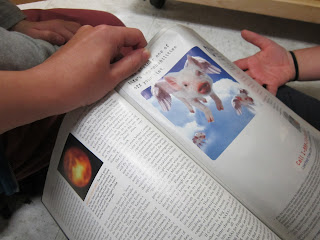 |
| Chose your own Photos from a magazine or a book |
When you have 3 copies of the photo, you can start to make
your own 3D photo!
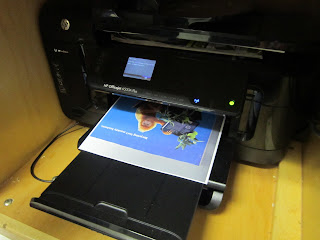 |
| Make 3 Copies of the Photos |
First, decide which parts of the picture should be in each
layer. We can have three layers, so
something can be in the front, the middle, and finally the back.
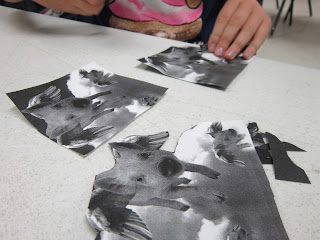
Then, trace which objects you want in each layer, cut them
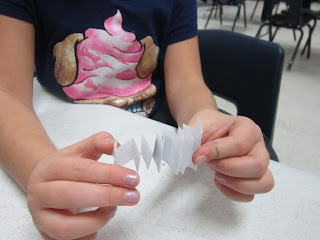
out, and stick folds of paper to add depth to each object depending on how
close you want them to be.
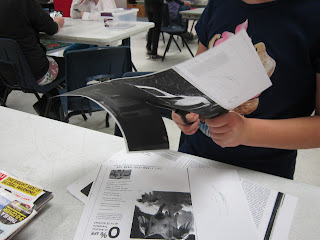 |
| Cut out the objects for each layer... |
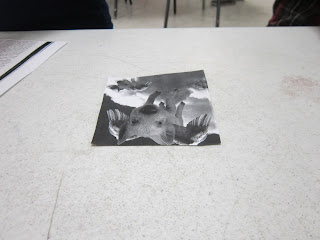 |
| Base Layer... |
 |
| Ready for 3 Layers |
 |
| This is what makes your Photo 3D |
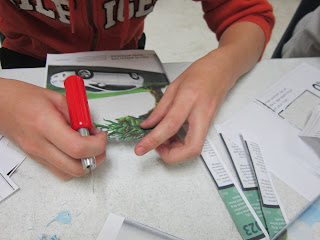
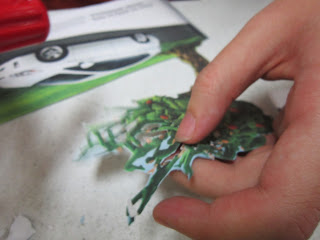
While you are doing this with kids, different photos or pictures can provide different levels of challenge for the kids. Following are the steps for a more difficult picture.
 |
| Cut out the objects from the photo |
 |
| Cut out the details of the Picture |
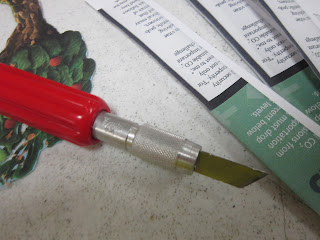 |
| Sharp cutting knife. Leader supervision required! |
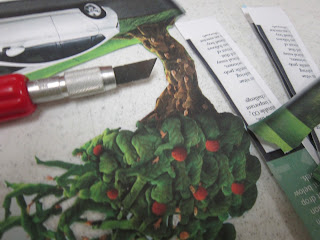 |
| Finally... detailing is done! |
 |
| Jason Lee is loving the every minute of it! |
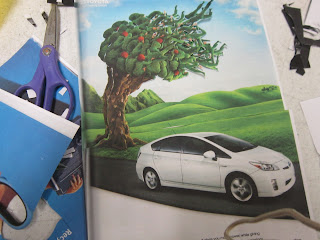 |
| Two Layers of the Picture |
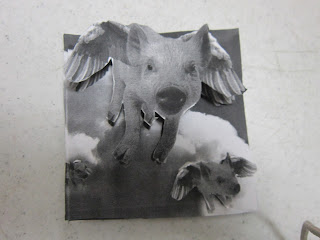 |
| Top view of a finished 3D Photo |
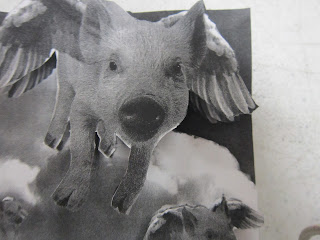 |
| Closer view |
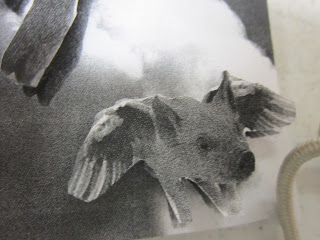 |
| Closer view II |
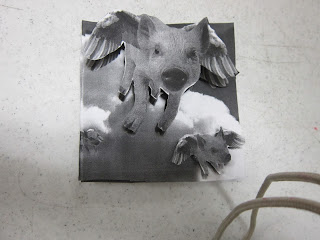 |
| Flying Piggies! |
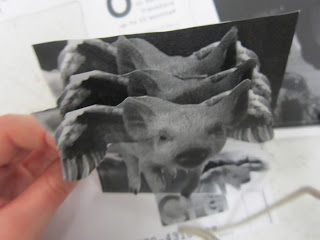 |
| Side view of the 3D photos |
Again, making 3D photo requires plenty of patience from the kids but it's not as hard as you think it is. With some careful snipping and pasting, you can make any
picture 3D!
Stay tune with our next Art Attack...
Thanks for dropping by,
Dennis & Jason Lee
Monday, 4 February 2013
Chocolate Creation
-Mercedes
Subscribe to:
Comments (Atom)

